Driveline Repair in Vancouver, WA

The driveline is a very important motorized component in your vehicle and drivetrain. Without it your car’s engine, transmission and wheel axles would not be connected. In Vancouver, and the surrounding areas, Ron's Auto & RV are the experts in driveline repair.

When should I have my driveline repaired?

Your vehicle will give you signs when it’s time to bring your car in to have the driveline repaired. Below is a list of concerns to look out for.

  • Strange noises – odd noises coming from your vehicle are always a concern. If you hear something from your car you should bring it in for an inspection as soon as you can.
  • Vibrations – vibrations could mean you’re having an issue with your driveline and may need driveline repair.
  • Grinding – a grinding noise or feel could be due to improper lubrication and mean it’s time to have your driveline and drivetrain repaired.

Because your transmission is an extremely complex mechanical component, it’s important to find a talented mechanic. Here at Ron's Auto & RV, we specialize in all things to do with transmissions. When it comes time to have your driveline repaired, or your drivetrain repaired, our experience and diagnostic training make Ron's Auto & RV the top choice for driveline repair in Vancouver and the surrounding areas. Our shop works on all models of vehicles, both foreign and domestic. We happily offer all of our services at a competitive rate and only provide the best in quality vehicle care and maintenance services. Customer service and safety are our top priorities.

Expert Driveline Repair at Ron's Auto & RV.

5 Things a Trustworthy Auto Repair Shop Should Explain Before Starting Work | Ron's Auto & RV
August 31, 2026
Ron's Auto & RV in Vancouver, WA, shares five things a trustworthy repair shop should explain before starting work.
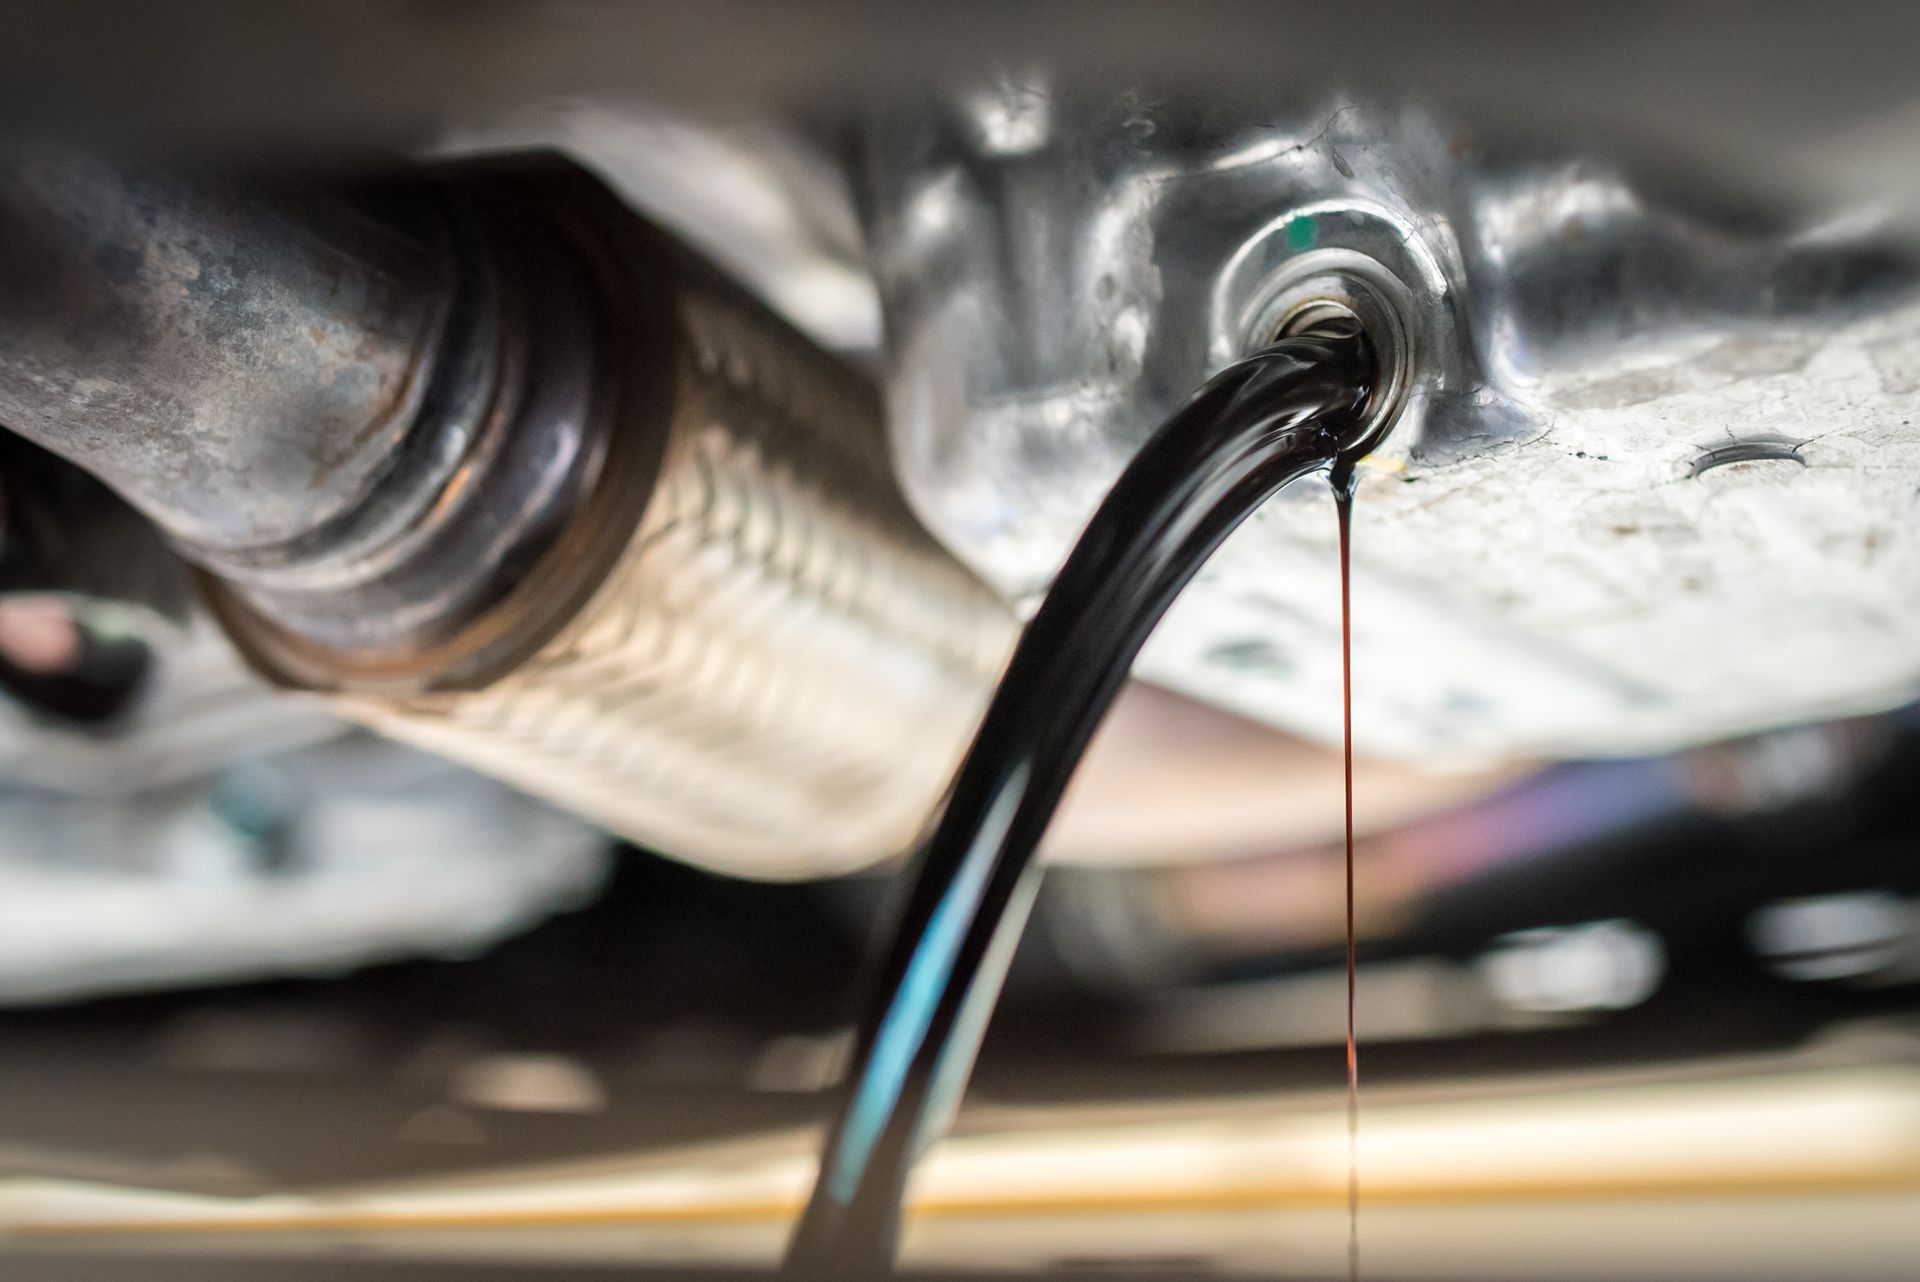
Can You Skip an Oil Change If Your Car or RV Has Barely Been Driven? | Ron's Auto & RV
July 31, 2026
Ron's Auto & RV in Vancouver, WA, explains why cars and RVs may still need oil changes when rarely driven.
May 12, 2026
How to Winterize Your RV If you’re putting your RV or motorhome into storage for the cold season, one of the most important steps you can take is proper winterization . Freezing temperatures can wreak havoc on plumbing systems, appliances, electronics, and batteries, leading to costly repairs when spring rolls around. Whether you’re a first-time RV owner or an experienced traveler, learning how to winterize your RV correctly is essential for protecting your investment. At Ron’s Auto & RV in Vancouver, WA , we’ve seen firsthand the damage that freezing weather can cause. To help you avoid cracked pipes, dead batteries, faulty tires, and fuel system problems, here’s a simple breakdown of the RV winterization process. Why Winterizing Your RV Matters Even one night of freezing temperatures can burst water lines, damage holding tanks, and ruin appliances like water heaters and pumps. Winterizing your RV ensures that: Water systems are fully protected from freezing Batteries stay charged and healthy Fuel remains stable for long-term storage Appliances and seals don’t dry out or corrode Skipping winterization or doing it incorrectly can lead to thousands of dollars in repairs , especially if water damage spreads inside walls or cabinets. Step-by-Step RV Winterization Checklist 1. Drain and Bypass the Water Heater Start by turning off the water heater and allowing it to cool. Drain all remaining water and switch the bypass valve so no antifreeze enters the heater during the next steps. 2. Empty Fresh, Gray, and Black Tanks Use an approved dump station to empty all holding tanks. Rinse them out thoroughly and add RV-safe tank treatment to prevent odor and buildup during storage. 3. Drain the Entire Water System Open all faucets, hot and cold, and flush out any remaining water. Don’t forget showers, toilets, and exterior wash stations . 4. Pump RV Antifreeze Into the Plumbing Using a water pump conversion kit or siphon tube, draw non-toxic RV antifreeze into the system. Open each faucet until pink antifreeze flows through. Pour antifreeze into drains, toilet bowls, and P-traps as well. 5. Protect Appliances Refrigerator : Clean, defrost, and leave the door propped open to prevent mold. Washer/Dryer : Run antifreeze through if applicable. Ice Makers and Outdoor Showers : Don’t forget to include them in your antifreeze cycle. 6. Remove or Maintain Batteries Cold temperatures drain batteries fast. You can either remove batteries and store them indoors or leave them connected to a smart trickle charger to keep them topped off. 7. Stabilize the Fuel System For gasoline or diesel-powered RVs , fill the tank and add fuel stabilizer . Run the engine and generator briefly to circulate the treated fuel through the system. 8. Seal and Secure Exterior Components Check for cracked seals, loose roof vents, or window gaps . Use RV-safe sealant where needed. Cover tires and consider a breathable RV cover to protect the exterior. Common Winterization Mistakes to Avoid Using automotive antifreeze instead of RV-safe antifreeze Forgetting to bypass the water heater Leaving water in outdoor shower hoses or low-point drains Failing to clean out food crumbs, which attract rodents Letting batteries sit disconnected without charging Even experienced RV owners sometimes miss hidden water lines or skip smaller appliances. If you’re unsure, it’s worth having a professional RV winterization service do it right the first time. Professional RV Winterization in Vancouver, WA At Ron’s Auto & RV , we offer complete RV winterizing services for travel trailers, Class A diesel pushers, Class C motorhomes, and fifth wheels. We also offer full diesel truck services . Whether you want a full-service winterization or just help with plumbing and fuel system protection, we’ll ensure your RV is safely stored all season long. For expert Auto and RV services in Clark County, WA, contact us today !

Featured Blogs & News